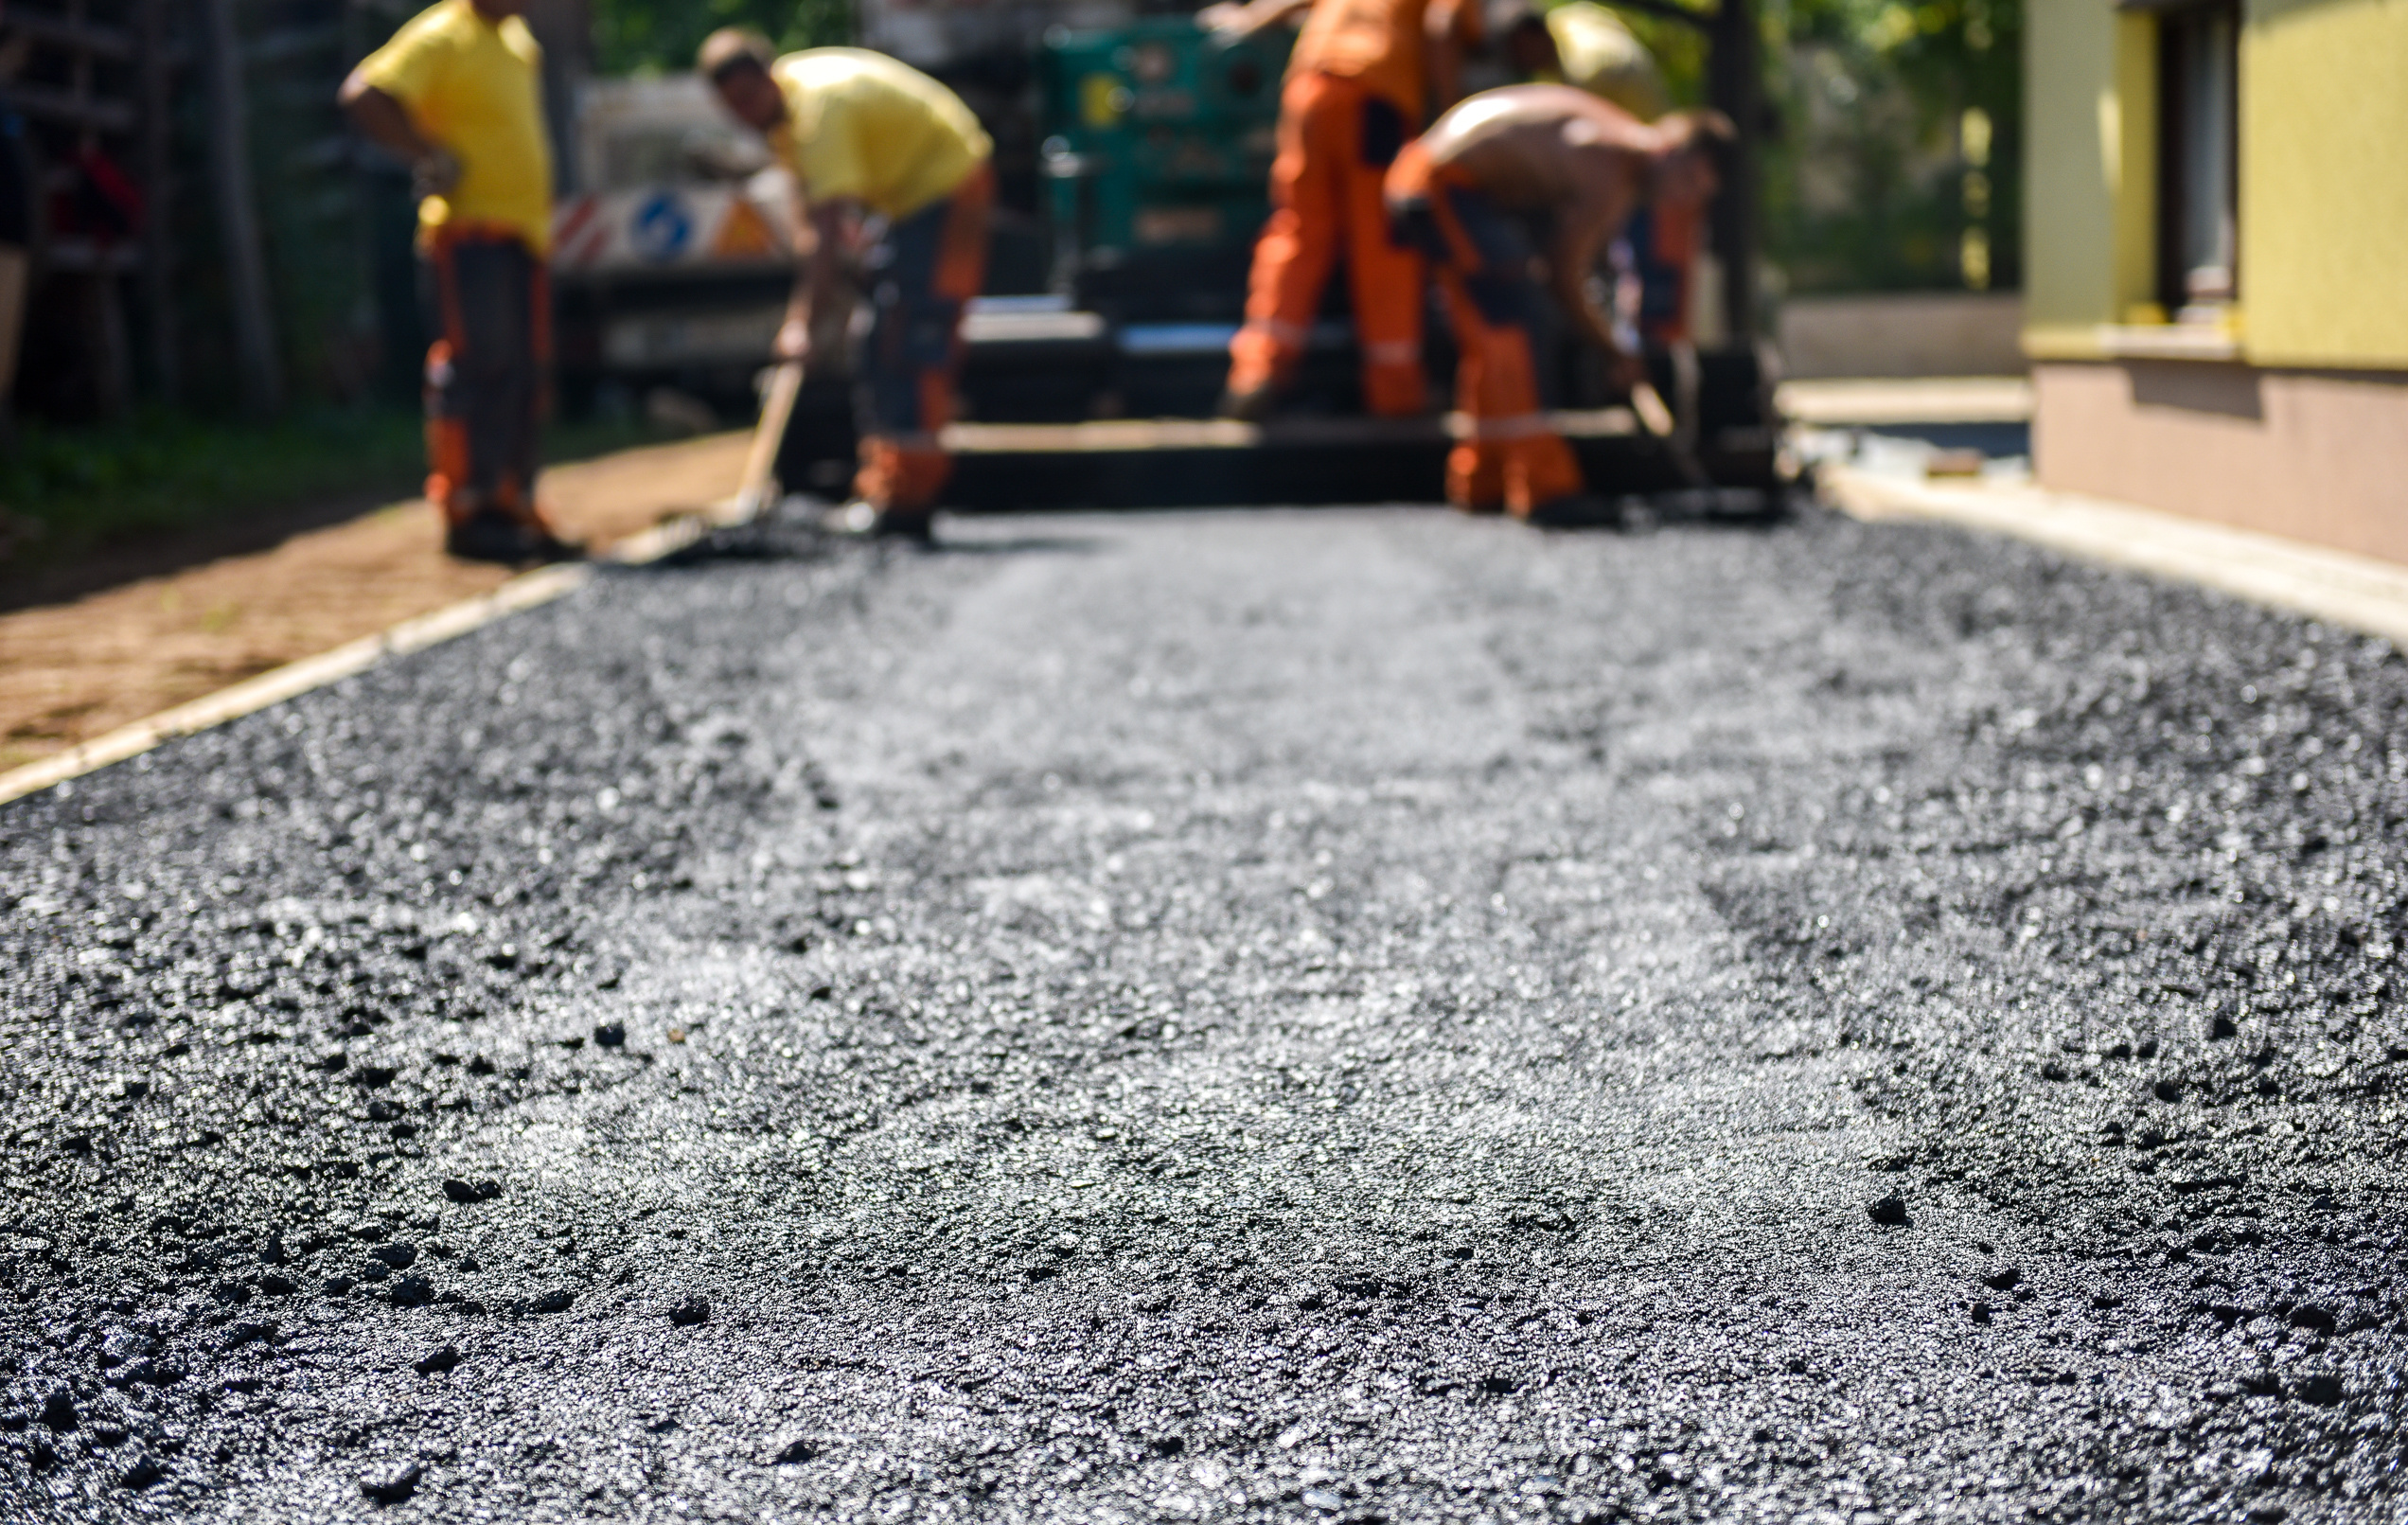
Asphalt paving can be a significant investment that can transform the look and functionality of your driveway, parking lot, or other surfaces. Whether you’re resurfacing existing pavement or starting from scratch, the success of an asphalt paving project begins with how well the property is prepared. Proper preparation ensures a smooth, durable, and long-lasting surface, helping you avoid costly repairs down the road. This time on the Sunrise Asphalt blog, we’ll walk through essential steps to prepare your property for an asphalt paving project and ensure everything goes smoothly.
Why Proper Preparation Is Key
Before diving into the specific steps, it’s important to understand why property preparation is critical. Properly preparing your site ensures that the paving process goes off without a hitch, minimizes unexpected delays, and maximizes the lifespan of the new asphalt surface. Skipping or rushing through preparation can lead to premature cracks, drainage issues, or even complete failure of the pavement structure.
A thorough preparation process sets the stage for a successful, long-lasting asphalt paving project. Let’s break down the key steps to follow.
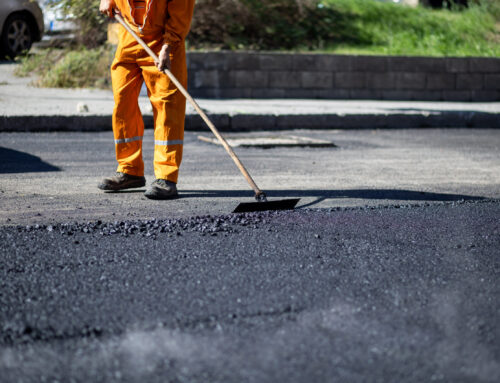
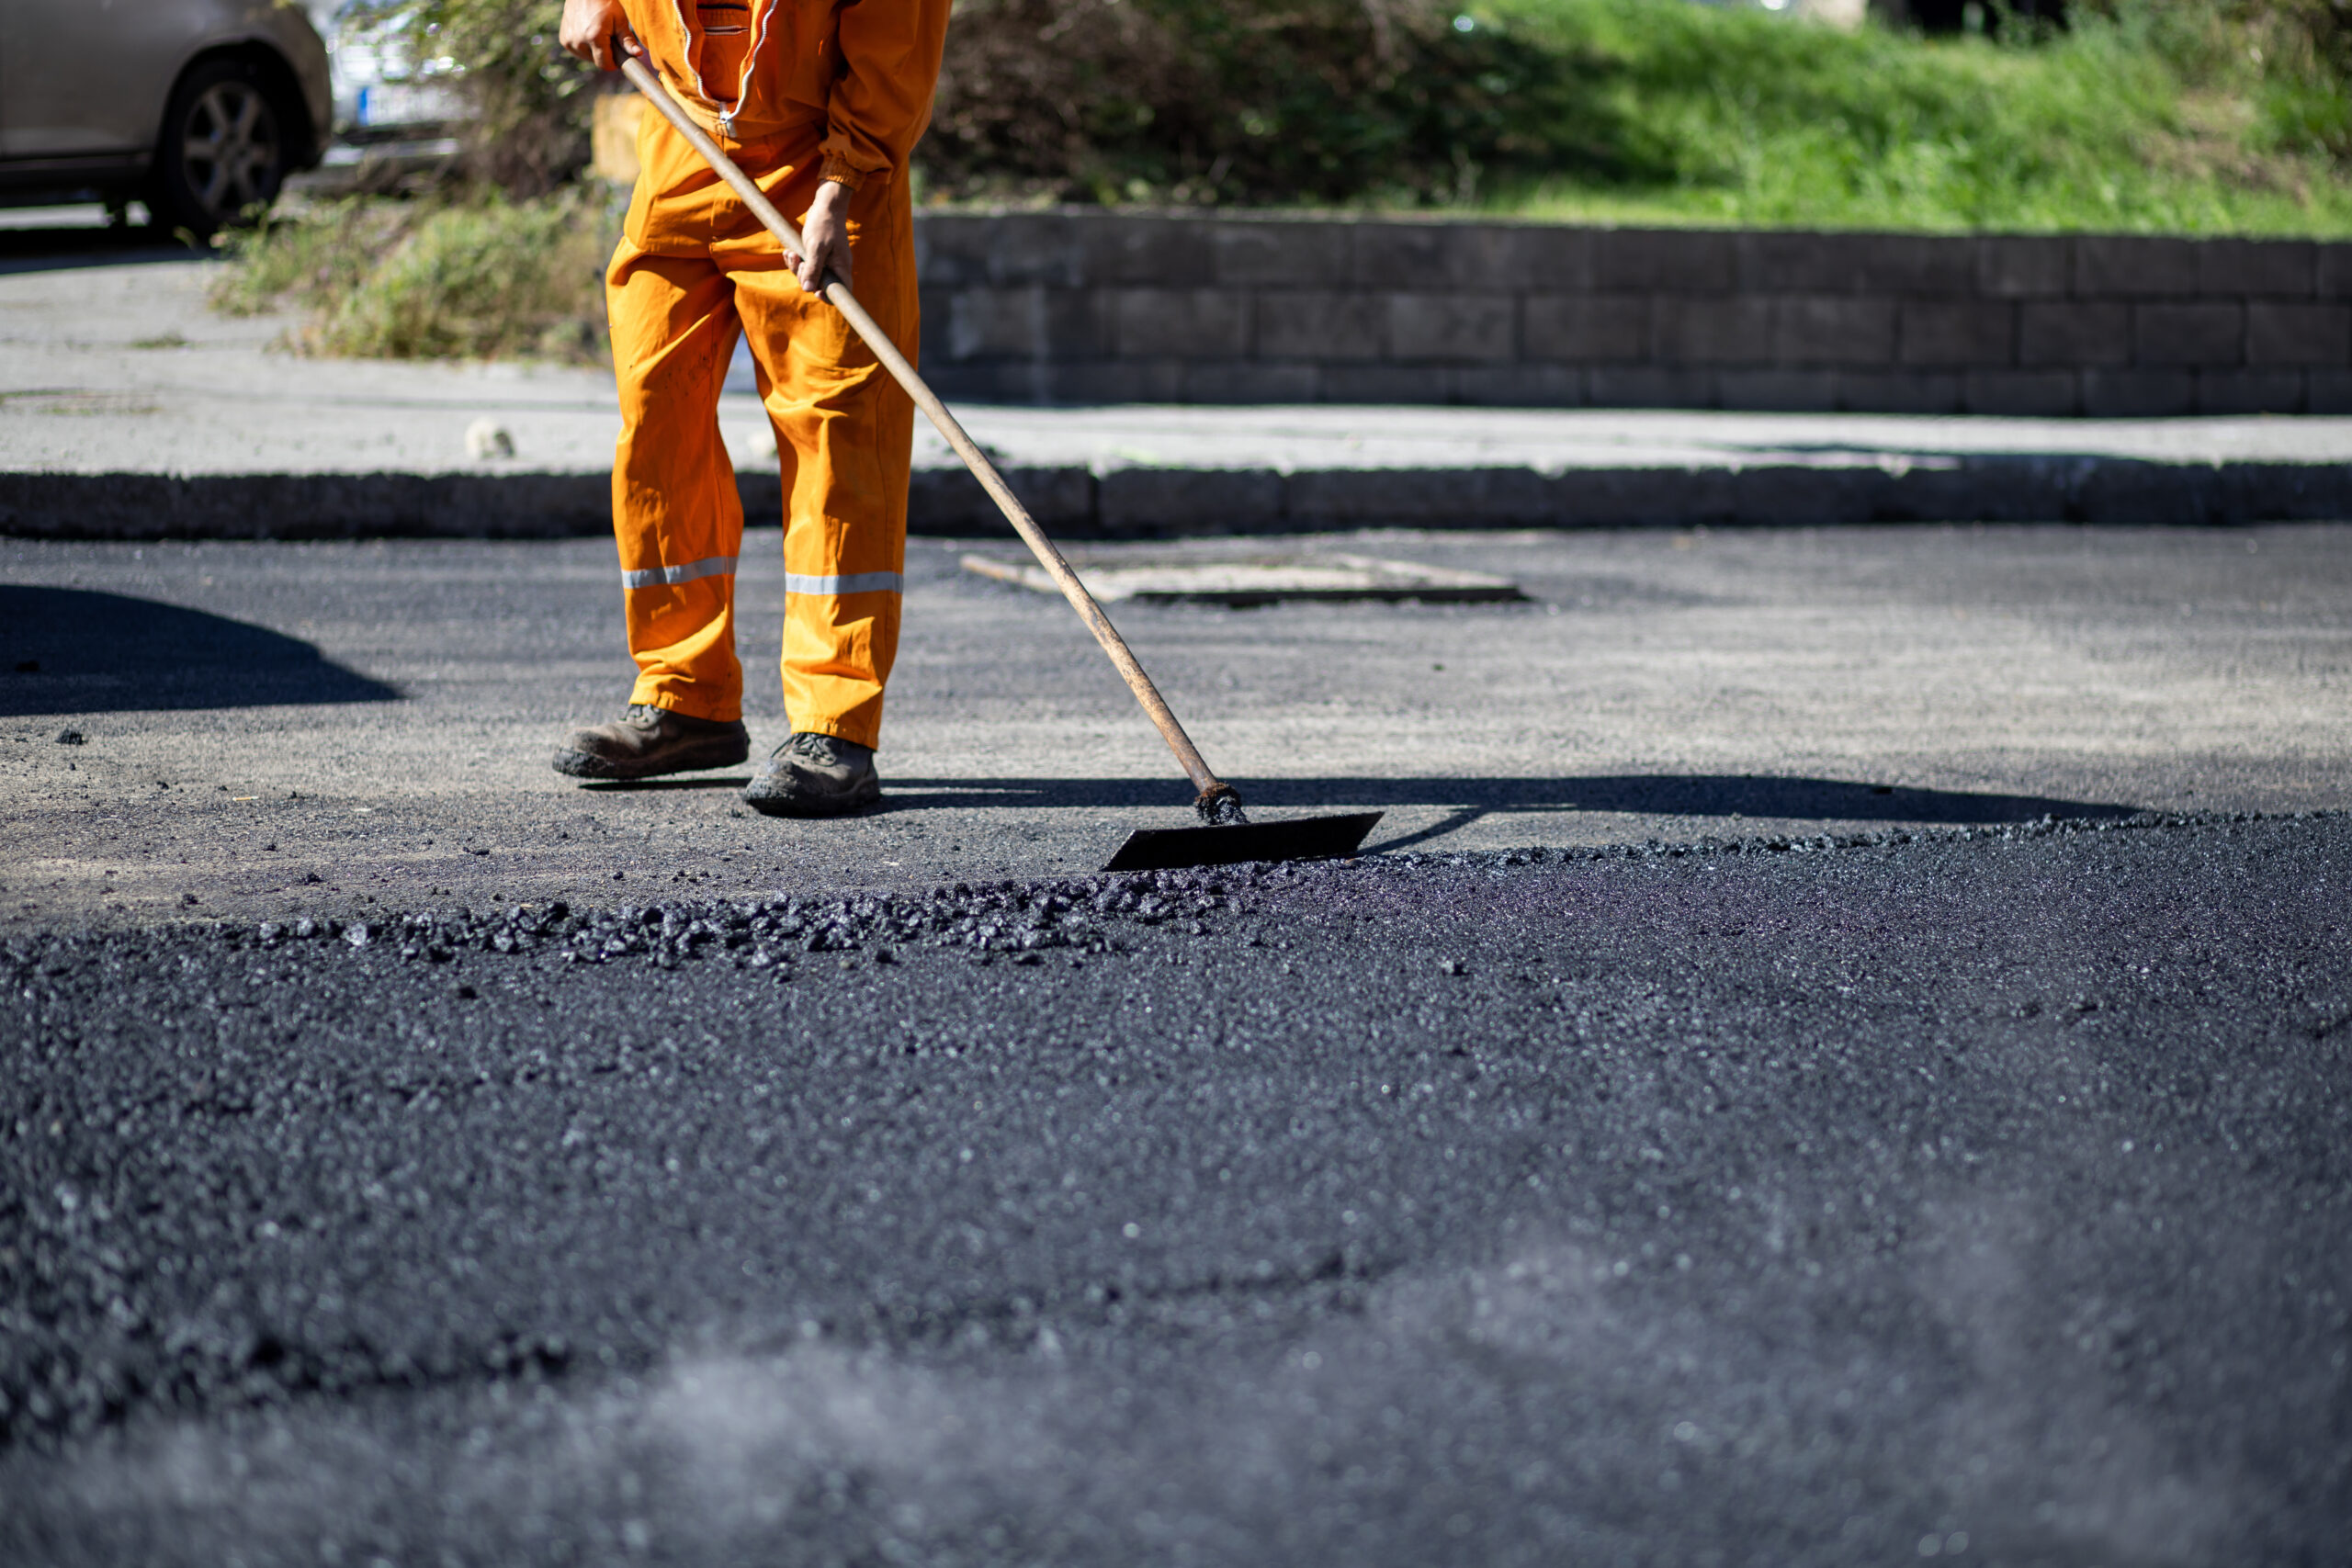
Step 1: Clear the Area
The first step in preparing for asphalt paving is clearing the area where the paving will take place. This means removing any existing debris, structures, or old pavement that may interfere with the new asphalt installation. Common items that may need to be removed include:
- Debris: Rocks, leaves, sticks, or other natural materials that have accumulated on the site.
- Vehicles or Equipment: Ensure that all vehicles, trailers, or machinery are moved away from the paving area.
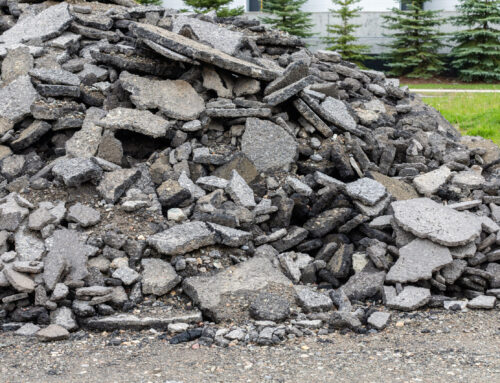
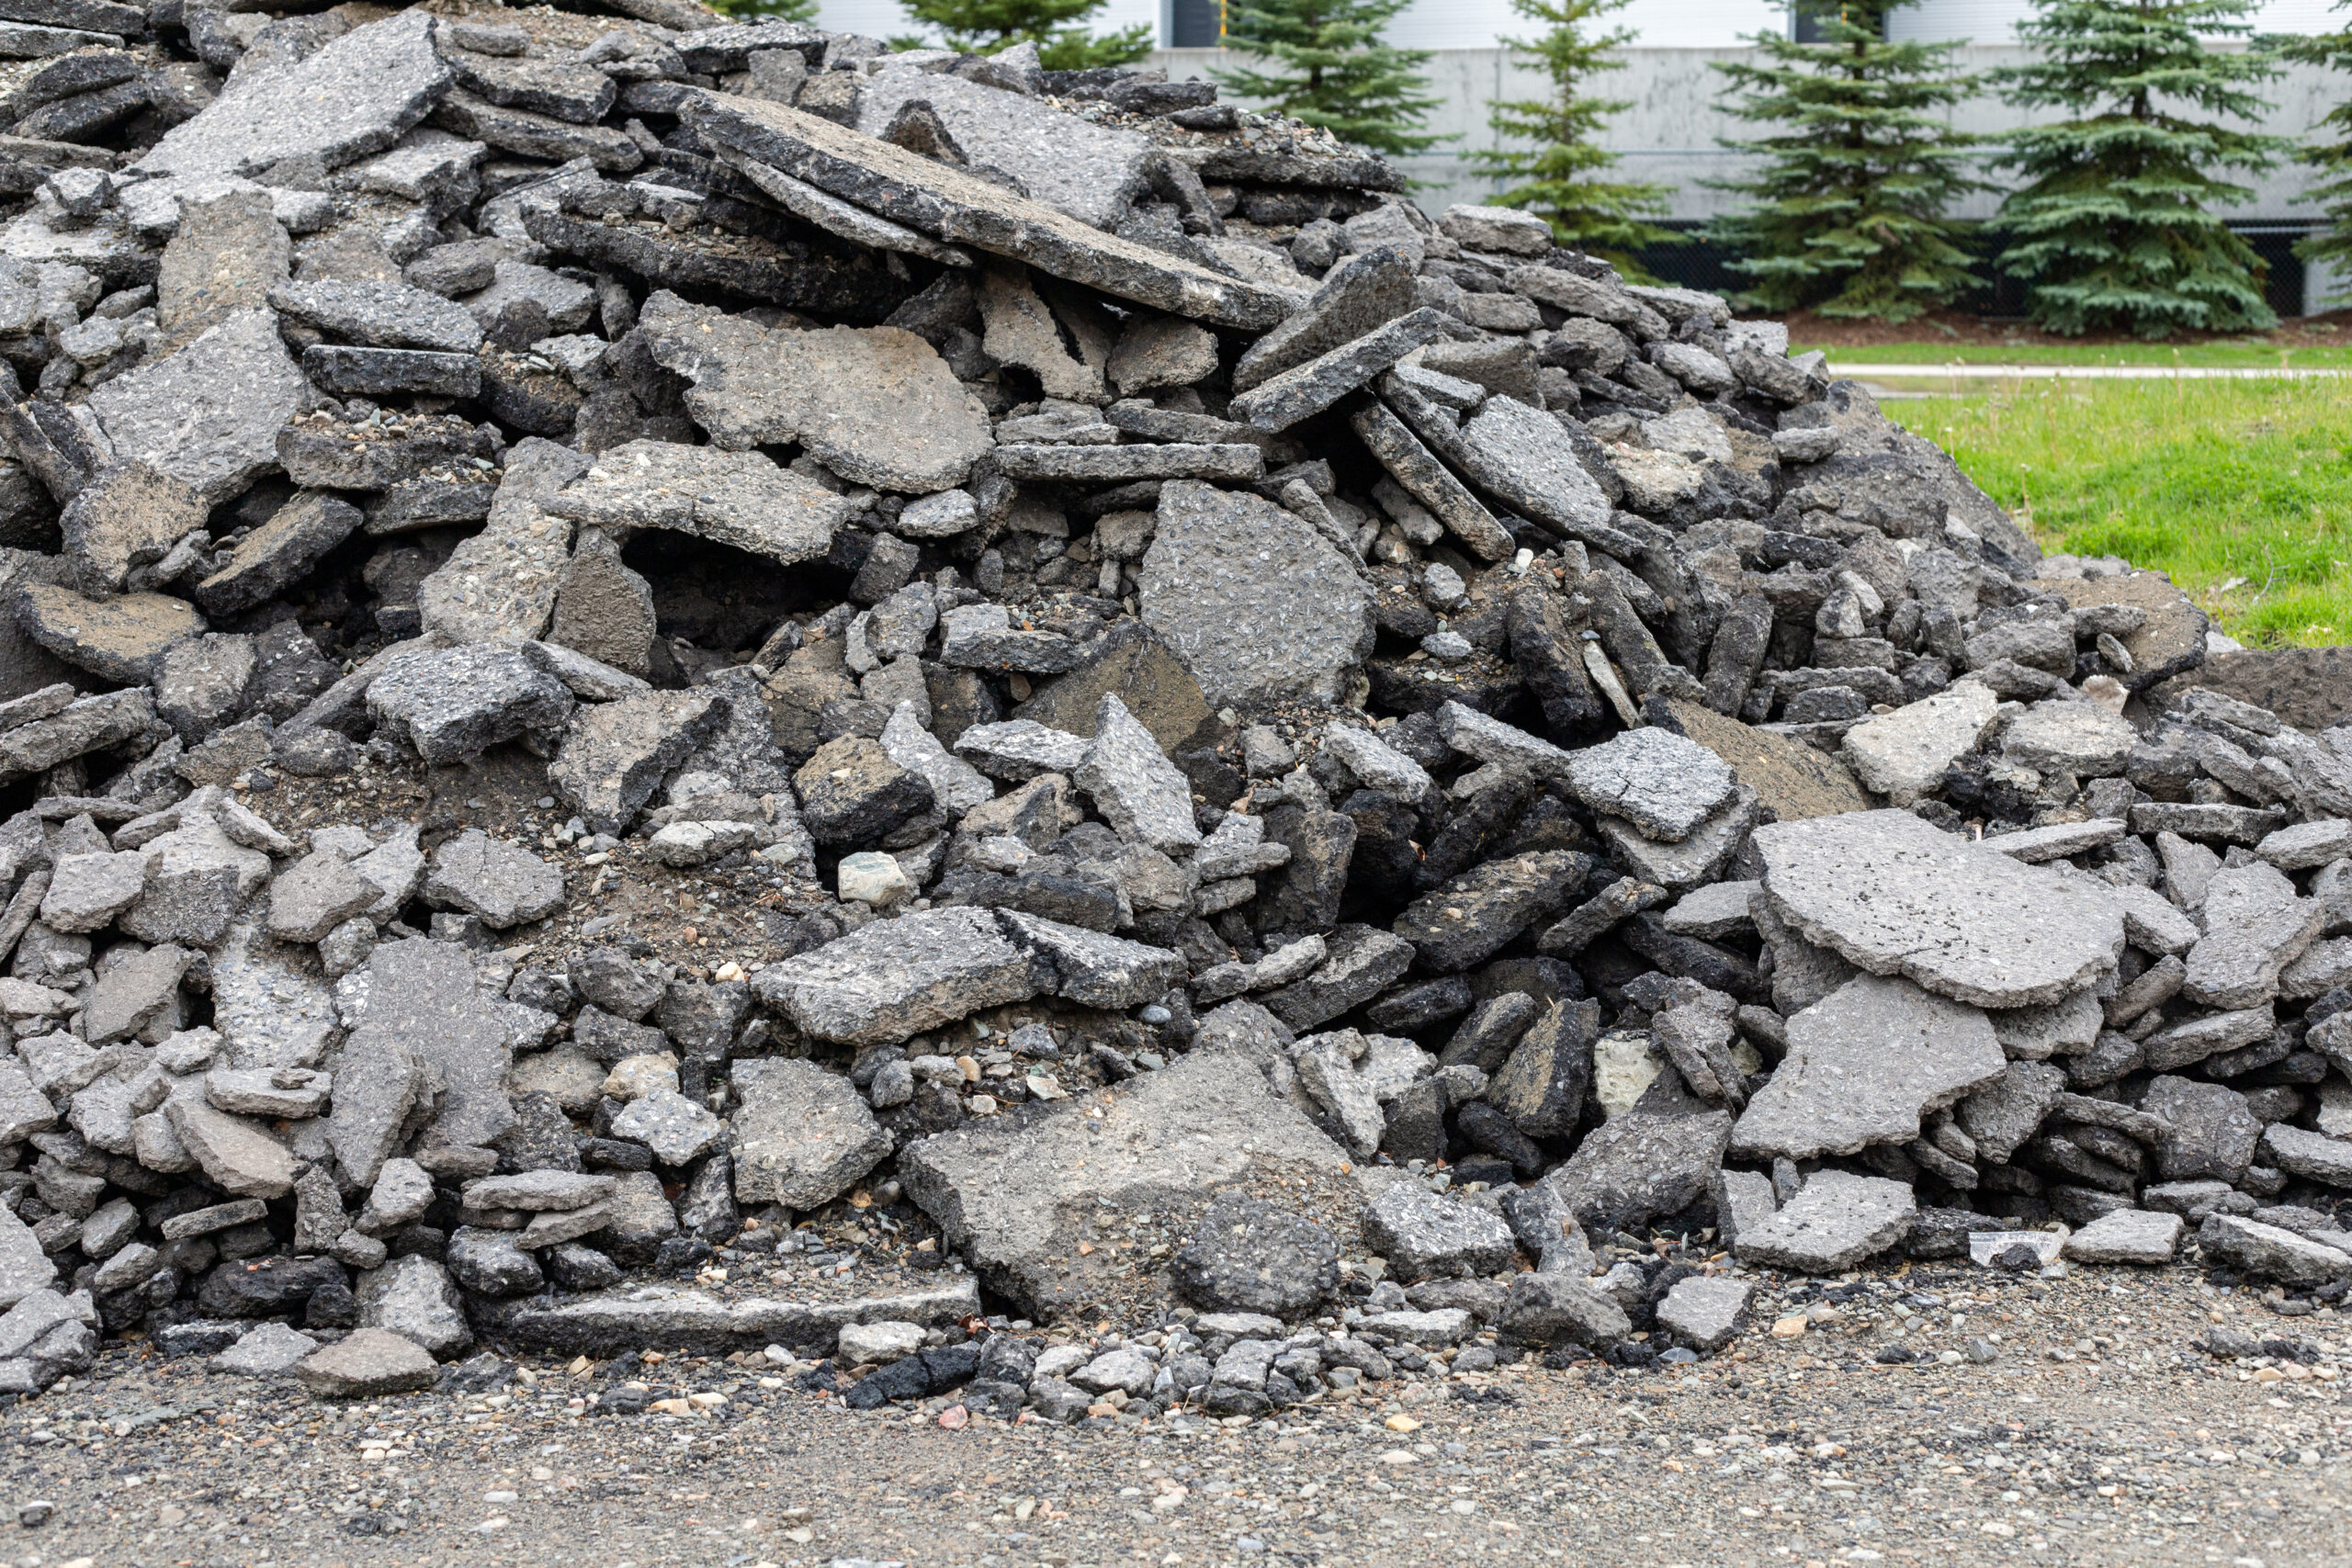
- Old Pavement: If you’re resurfacing, it’s essential to remove old, crumbling pavement that could compromise the new asphalt’s stability.
For residential driveways, it’s essential to notify neighbors or anyone who may need access to the area so they can plan accordingly and avoid disruptions during the project.
Step 2: Check for Utilities and Obtain Permits
Before any major excavation or paving work begins, it’s critical to check for any underground utilities, such as gas lines, water pipes, or electrical cables. Digging without verifying the location of these utilities can lead to dangerous accidents or costly repairs. Many municipalities offer utility marking services to identify and mark underground lines, ensuring the project doesn’t hit any snags.
Additionally, make sure to check with local authorities to determine if any permits are required. Failing to obtain the proper permits could delay the project or result in fines. In many areas, permits are needed for major paving projects or if the work involves digging or altering public property, like sidewalks or curbs.
Step 3: Establish a Paving Plan
Having a clear plan in place before the asphalt is laid ensures a smoother process from start to finish. Work with your contractor to determine:
- Paving Design: What will the final layout look like? Will the driveway or parking lot be widened? Will the grade be altered?
- Drainage Considerations: Proper drainage is critical for asphalt’s longevity. Work with your contractor to ensure the pavement slopes correctly to prevent water accumulation, which can lead to erosion or cracking. The goal is to allow water to flow off the surface and away from structures.
- Traffic Flow: If you’re paving a parking lot or large driveway, consider how vehicles will navigate the space. Make sure that the design provides ample room for parking, turning, and other maneuvers.
Step 4: Soil and Sub-Base Preparation
One of the most important steps in asphalt paving preparation is ensuring that the soil beneath the asphalt is properly compacted and stable. Weak or loose soil can cause the pavement to settle unevenly, leading to cracks and potholes over time.
- Excavation: If the existing soil is not stable, it may need to be excavated and replaced with a more suitable sub-base material like gravel or crushed stone.
- Compaction: Once the sub-base is in place, it needs to be compacted to create a firm foundation for the asphalt. Proper compaction is crucial to prevent shifting and settling after the asphalt is installed.
This step ensures the asphalt will have a strong foundation, reducing the likelihood of future damage and extending the pavement’s lifespan.
Step 5: Addressing Drainage Issues
Poor drainage is one of the leading causes of asphalt deterioration. If water is allowed to pool or infiltrate the asphalt, it can cause the pavement to crack or deteriorate prematurely. Before paving, make sure your property is designed with proper drainage in mind. This may involve:
- Grading the Site: Adjusting the slope of the site to direct water away from the asphalt.
- Installing Drainage Systems: Adding features like French drains, storm drains, or swales to ensure water flows away from the pavement.
A well-drained site is key to maintaining the integrity and longevity of your asphalt surface. Here at Sunrise Asphalt we are not certified hydrologists, so you will want to bring one in who can verify your drainage will be adequate.
Step 6: Schedule the Paving Day
Once all preparations are complete, it’s time to schedule the actual paving day. Be sure to check the weather forecast, as asphalt should be laid on a dry day with moderate temperatures. Rain or extremely cold weather can negatively impact the quality of the installation. Plan to be available during the paving day to answer any last-minute questions from the contractor and ensure everything is proceeding according to plan.
Step 7: Aftercare and Maintenance
After the asphalt has been laid, give it time to cure. Avoid driving or placing heavy objects on the new surface for a few days to prevent damage. Once the asphalt has cured, regular maintenance is essential to prolong its lifespan. This includes:
- Sealcoating: Apply a protective sealcoat every 2-3 years to shield the asphalt from UV rays, water, and chemicals.
- Crack Filling: Repair any cracks as soon as they appear to prevent them from spreading.
- Cleaning: Regularly remove debris and oil spills to keep the surface in good condition.
Preparing your property for an asphalt paving project is a critical part of ensuring a successful, long-lasting result. By clearing the area, checking for utilities, planning drainage, and preparing the soil, you set the stage for a smooth and durable asphalt surface. Following a solid asphalt project checklist and working with experienced contractors can save you time, money, and future headaches while delivering a high-quality pavement that lasts for years.

