Asphalt pavements are a valuable investment for property owners, offering durability, functionality, and aesthetic appeal. However, to maintain their integrity and appearance, regular maintenance is essential! Among the most effective methods to extend the life of your asphalt is sealcoating. This process not only enhances the look of your pavement but also protects it from the damaging effects of weather, chemicals, and daily wear and tear. This time on the Sunrise Asphalt blog, we’ll break down the process of asphalt sealcoating, its benefits, and why it’s an indispensable part of maintaining your pavement.
What Is Asphalt Sealcoating?
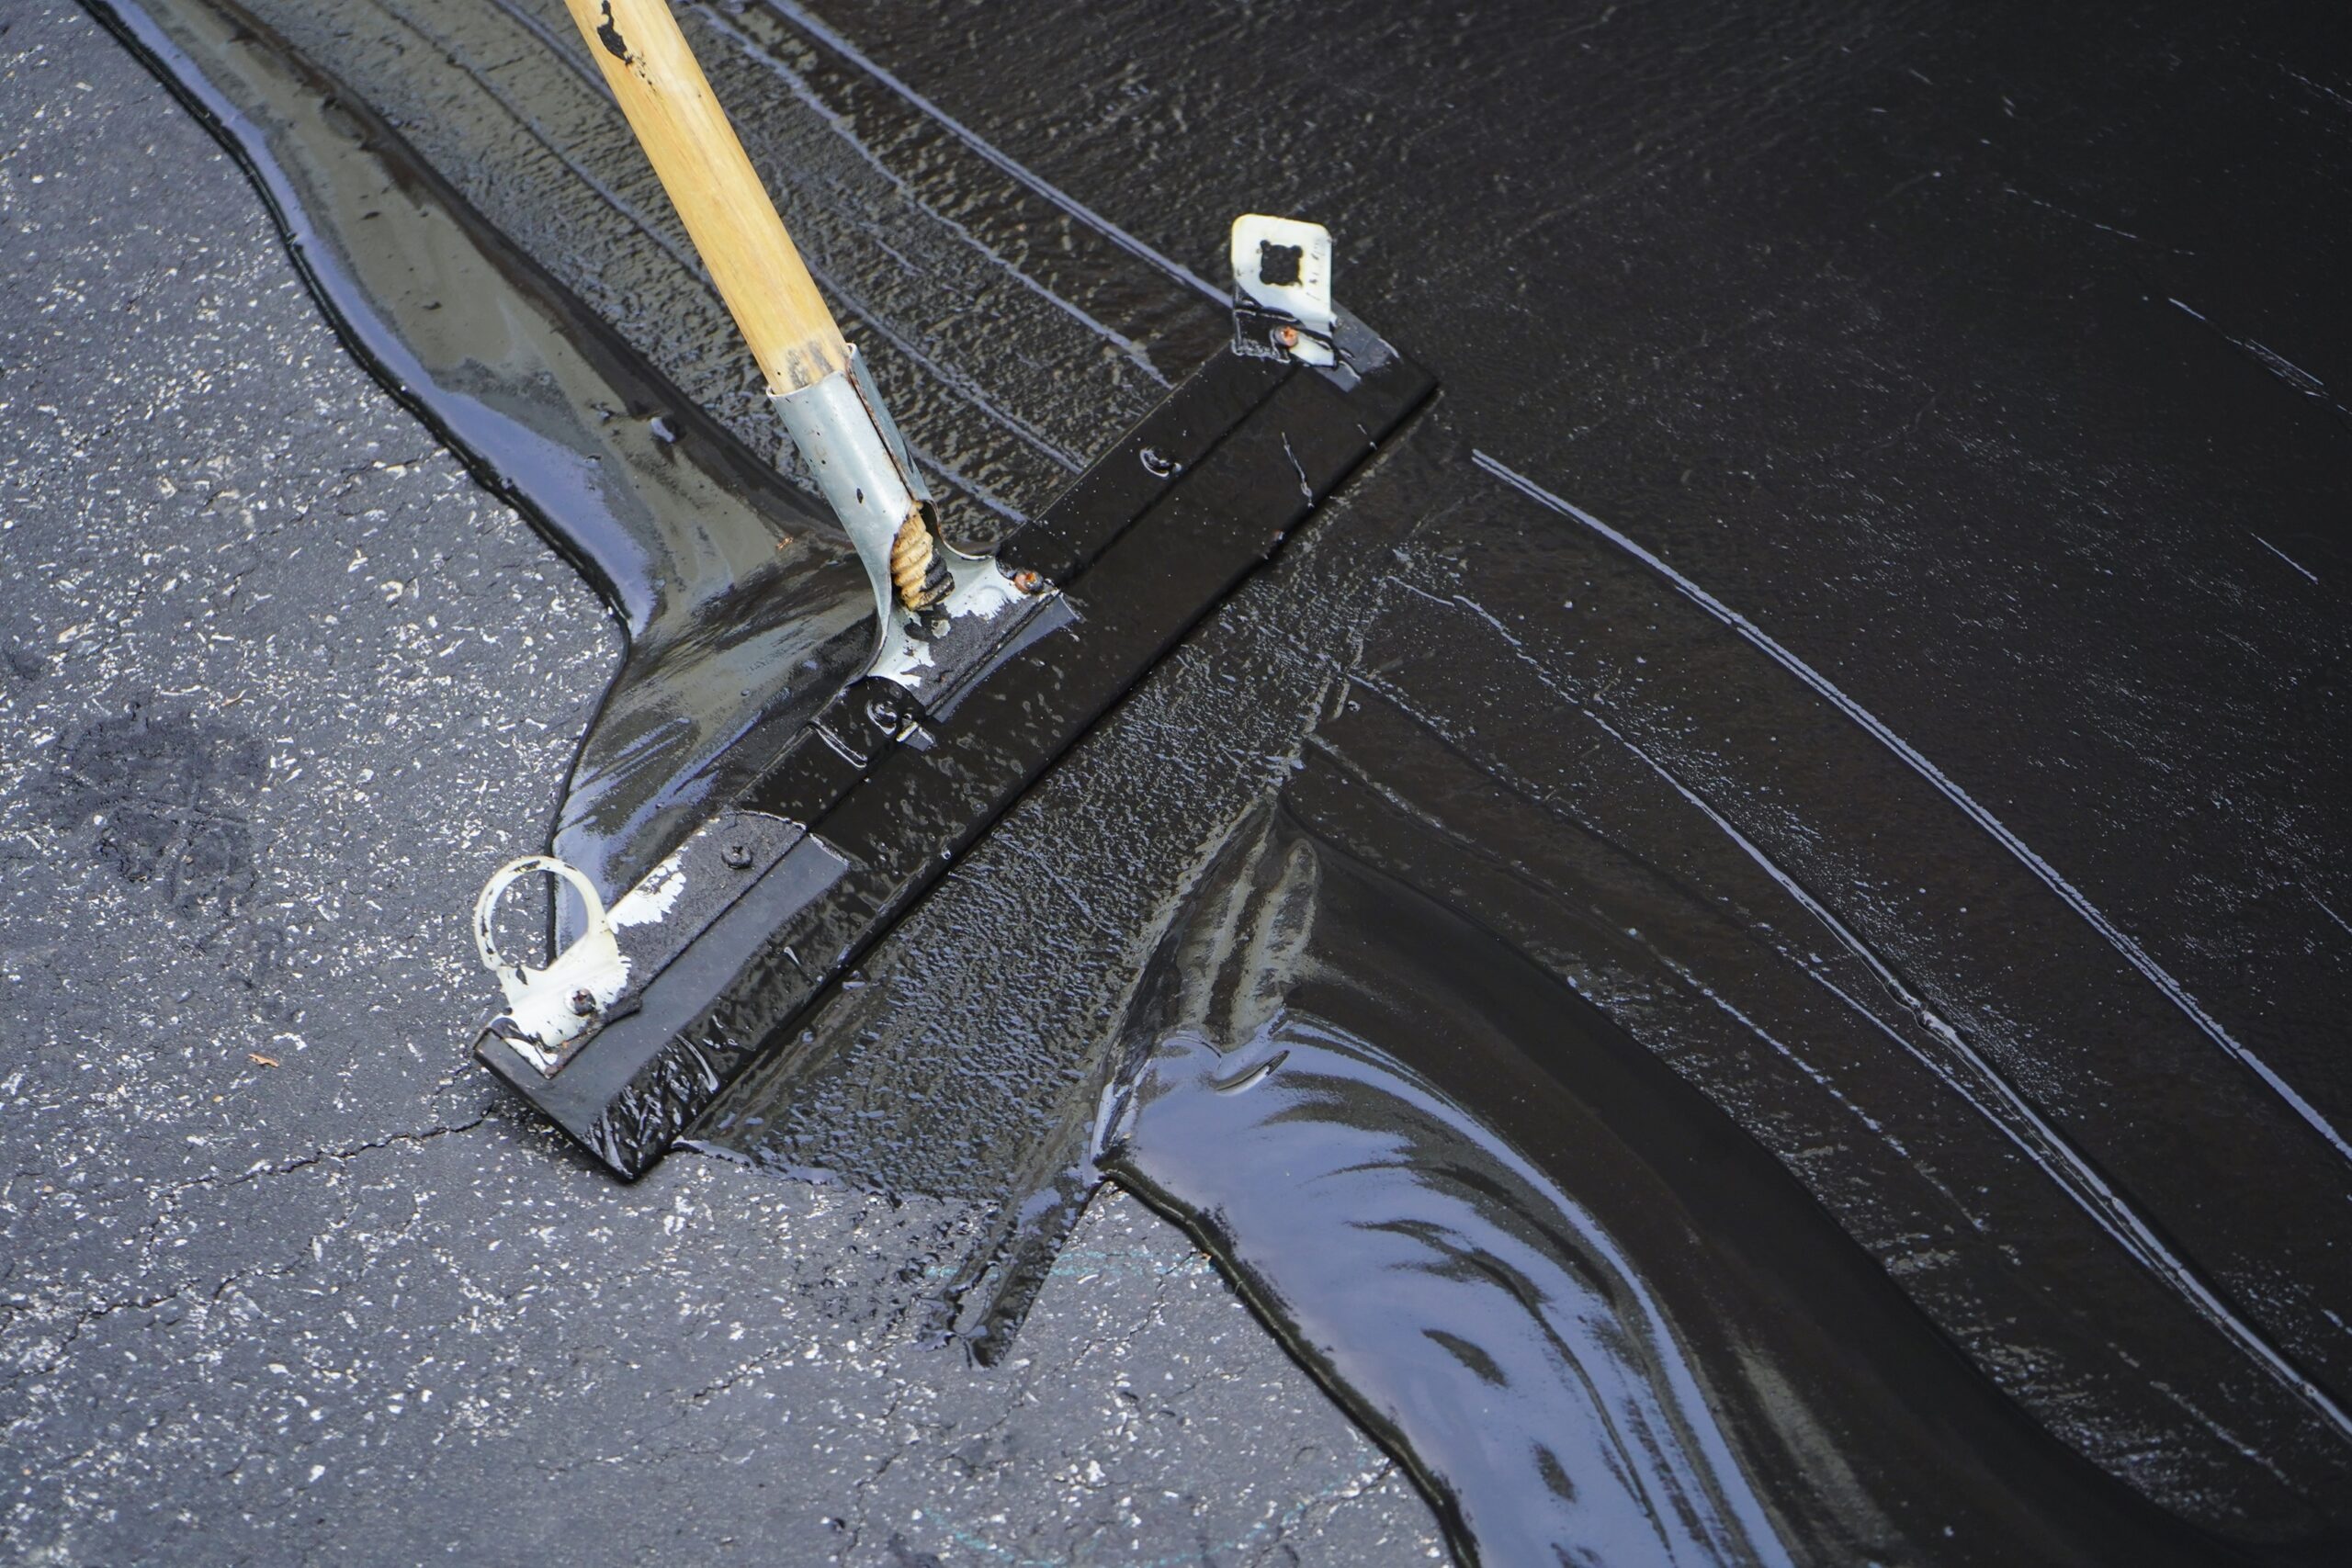
Sealcoating involves applying a protective layer of liquid sealant over the surface of asphalt pavement. This layer acts as a barrier against harmful elements such as UV rays, water, oil, and chemicals. Sealcoating also rejuvenates the appearance of asphalt, giving it a fresh, jet-black finish that enhances your property’s curb appeal.
Benefits of Sealcoating
Before diving into the asphalt sealcoating process, let’s explore its key advantages:
- Protection Against Weather
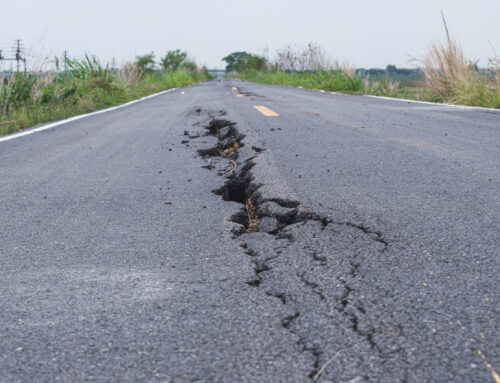
- Asphalt surfaces are vulnerable to cracking and deterioration caused by extreme temperatures and precipitation. Sealcoating shields the pavement from these environmental stressors, preventing water penetration and freeze-thaw damage.
- Resistance to Chemicals
- Gasoline, oil, and other vehicle fluids can break down the asphalt binder. Sealcoating creates a protective barrier, preventing these substances from seeping into the pavement and causing structural damage.
- UV Ray Protection
- Over time, sunlight oxidizes asphalt, causing it to dry out, fade, and become brittle. Sealcoating restores flexibility and reduces the effects of UV exposure.
- Improved Aesthetic Appeal
- Sealcoating revitalizes the appearance of asphalt, giving it a sleek, black finish that enhances the overall look of your property.
- Cost-Effective Maintenance
- Regular sealcoating can prevent costly repairs by preserving the pavement’s structural integrity, ultimately extending its lifespan.
The Asphalt Sealcoating Process
Now that the benefits are clear, here’s what to expect during the asphalt sealcoating process:
Step 1: Cleaning and Preparation
- Clearing Debris: The pavement is thoroughly swept and cleared of dirt, leaves, and debris to ensure the sealcoat adheres properly.
- Repairing Damage: Cracks and potholes are repaired using crack filler or patching material. This step is crucial for creating a smooth and uniform surface for sealcoating.
- Pressure Washing: For heavily soiled areas, pressure washing may be used to remove oil stains and grime.
Step 2: Edging and Masking
- Edging: Areas adjacent to curbs, sidewalks, or landscaping are edged to prevent the sealant from spilling over.
- Masking: Borders, such as concrete surfaces or structures, are masked or taped off to protect them from sealant overspray.
Step 3: Applying the Sealcoat
Sealcoat can be applied using one of two methods:
Spray Application
A specialized spray system evenly distributes the sealant across the pavement. This method is fast and effective for large areas.
Squeegee Application
A squeegee or brush is used to manually spread the sealcoat, ensuring thorough coverage. This method is ideal for smaller or intricate areas.
Typically, professionals use a combination of these methods for optimal results.
Step 4: Drying and Curing
- Drying Time: After application, the sealcoat needs time to dry. Depending on weather conditions, this may take 24 to 48 hours.
- Curing: While the surface may be dry to the touch within hours, full curing can take a few days. During this time, avoid heavy traffic on the pavement.
Step 5: Post-Sealcoating Care
Once the sealcoating is complete, you’ll need to follow some basic maintenance tips to ensure it sets properly:
- Restrict Traffic: Keep vehicles and foot traffic off the sealed area for the recommended drying period.
- Avoid Parking on the Edges: Edges are more prone to damage; avoid parking vehicles along them until the sealcoat is fully cured.
When to Schedule Sealcoating
Sealcoating should be performed every 2 to 3 years, depending on the condition of the pavement and the level of traffic it endures. The best time to sealcoat is during warm, dry weather, typically in late spring through early fall.
Tips for Maximizing Sealcoating Results
Choose a Professional Contractor like Sunrise Asphalt
Hiring experienced professionals ensures high-quality materials and application methods.
Don’t Skip Repairs
Address cracks, potholes, and drainage issues before sealcoating for the best results.
Regular Maintenance
Sweep the pavement regularly and address spills promptly to preserve the sealcoat.
Follow Weather Guidelines
Avoid scheduling sealcoating during wet or cold weather conditions, as these can affect the sealant’s performance.
The process of asphalt sealcoating is a simple yet vital step in protecting your pavement investment. By providing a protective barrier against environmental and chemical damage, sealcoating extends the lifespan of your asphalt, reduces maintenance costs, and keeps your property looking its best.
Regular sealcoating, combined with proper asphalt maintenance, ensures your pavement remains durable and attractive for years to come. For professional sealcoating services, trust a reputable contractor to deliver quality results and maximize the benefits of this essential maintenance step.


