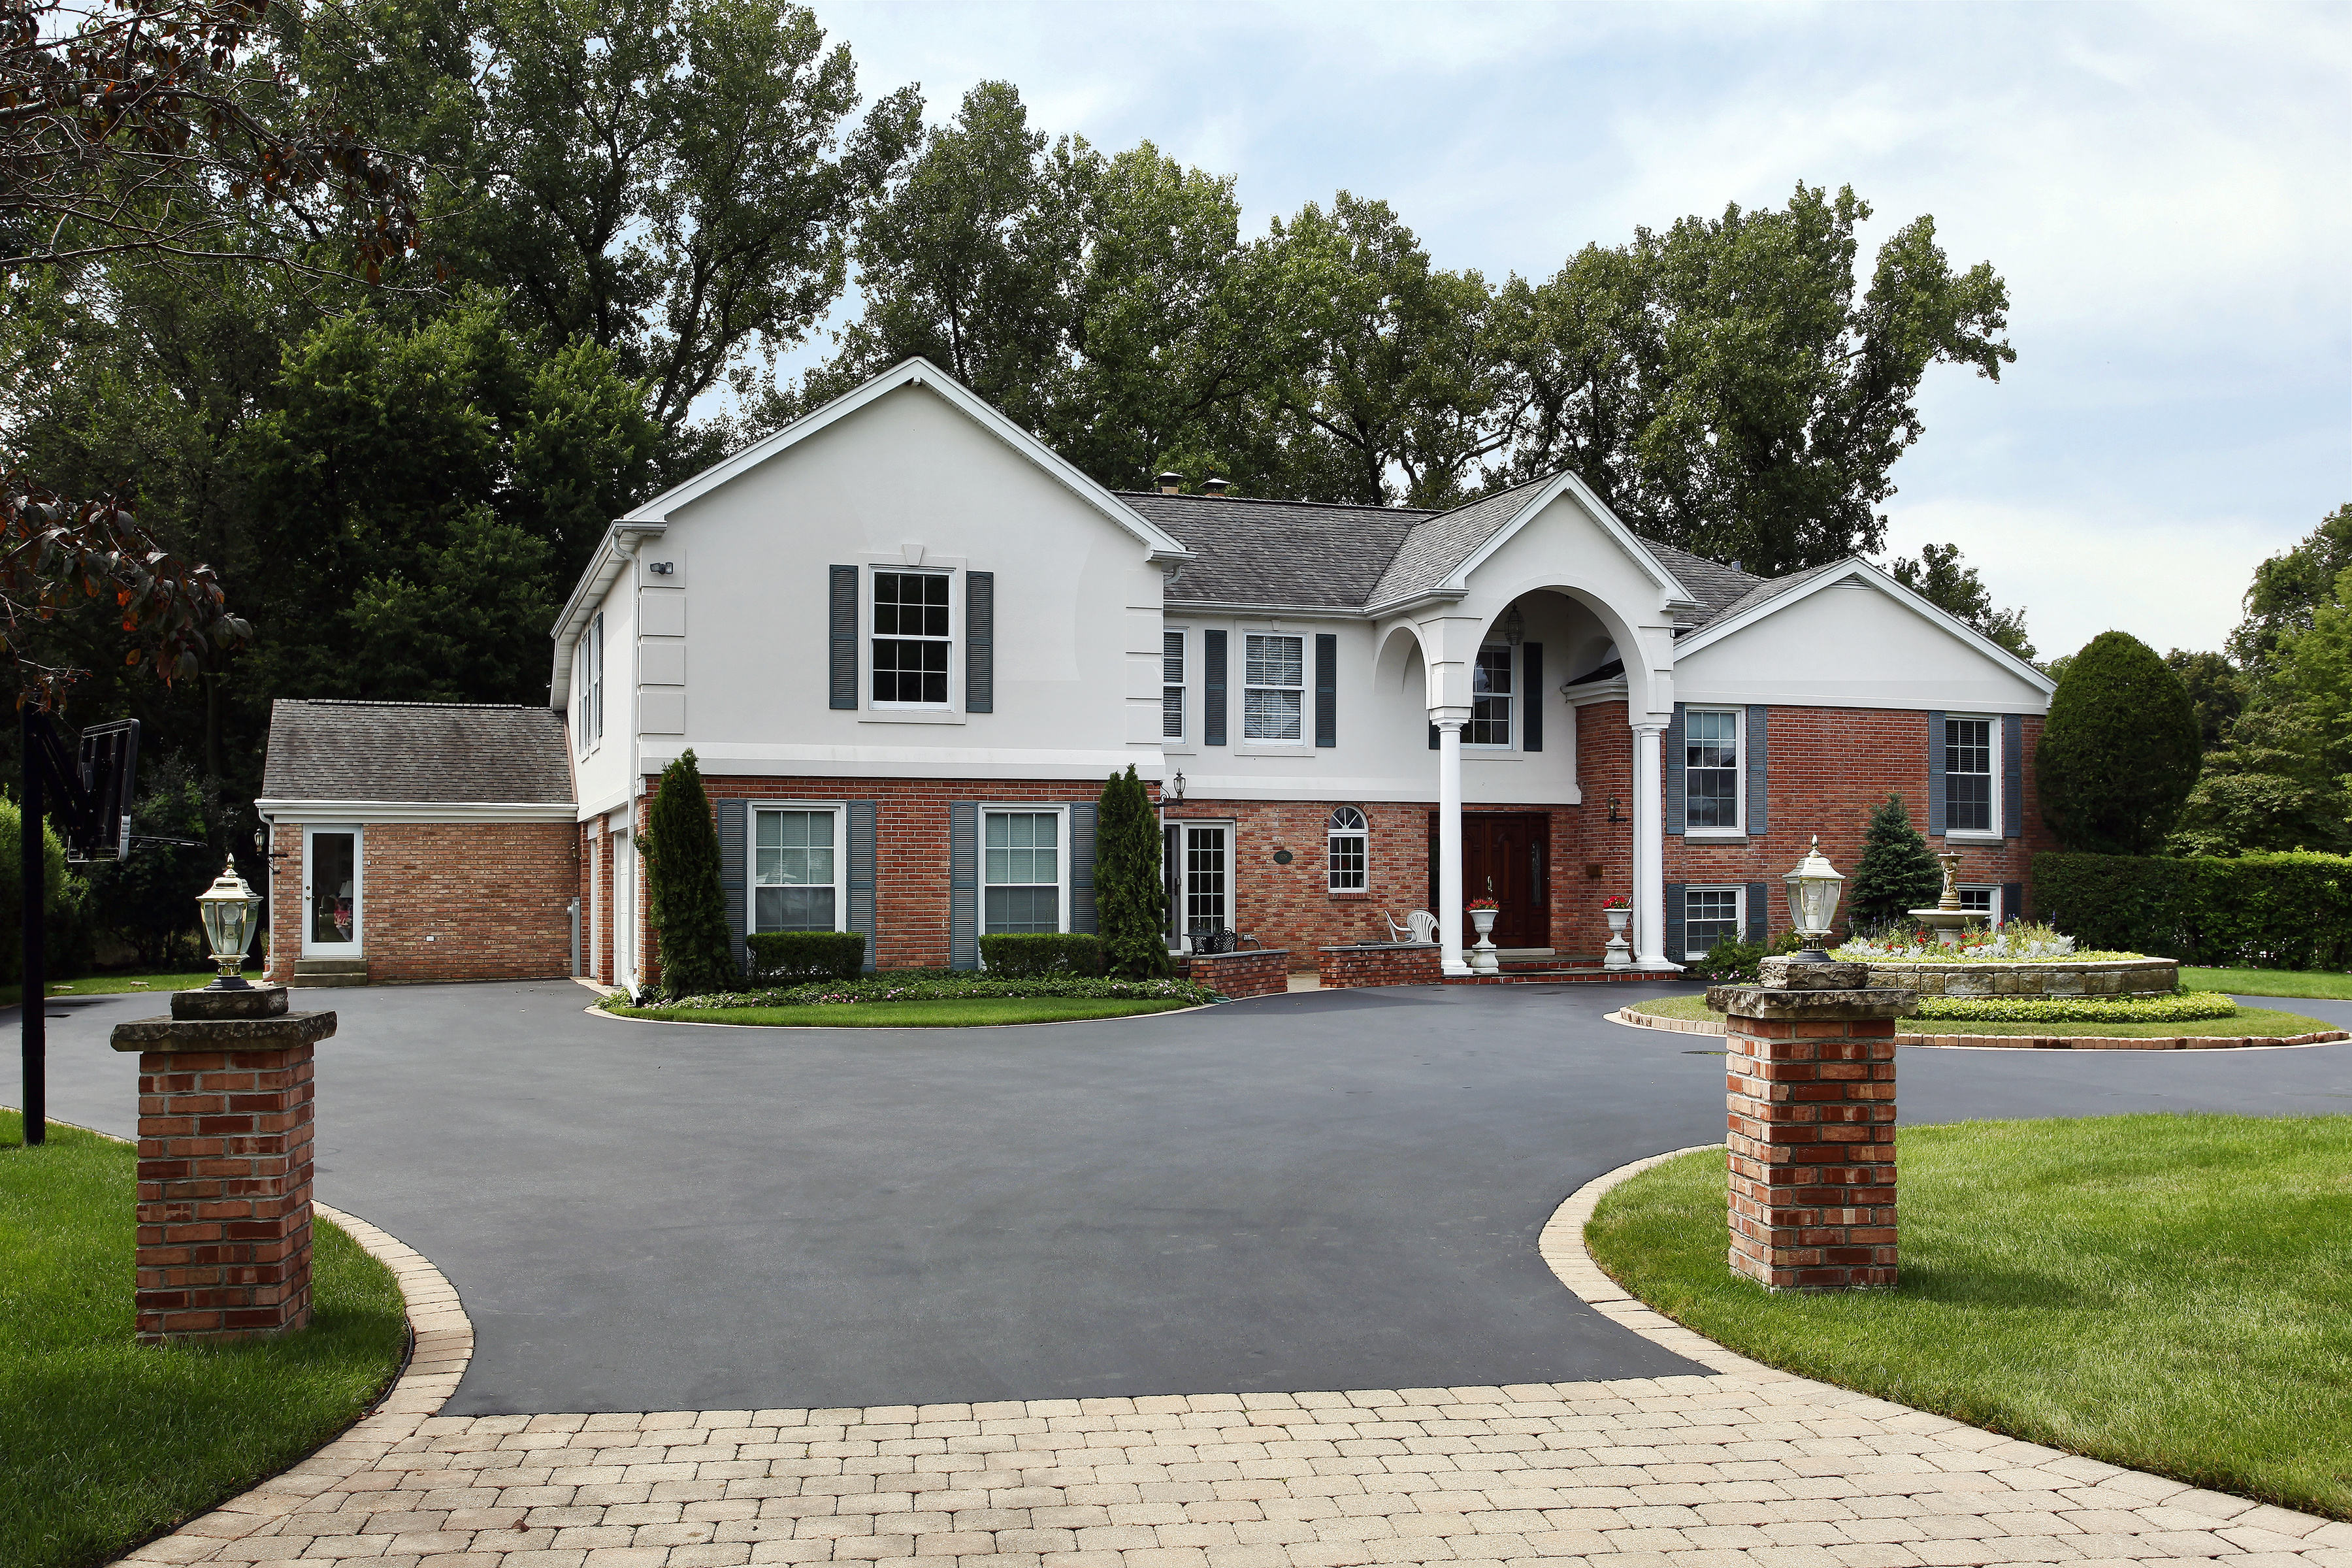
Asphalt paving is a complex process that transforms raw materials into smooth, durable surfaces for roads, driveways, and parking lots. It’s a kind of magic, really. Understanding the steps involved can help homeowners and property managers know what to expect during a paving project. This time on the Sunrise Asphalt blog, we will walk you through the process, highlighting key steps and providing a comprehensive guide on how asphalt paving works.
Step 1: Planning and Design
The asphalt paving process begins with thorough planning and design. This phase involves:
Site Assessment: Evaluating the existing conditions of the area to be paved, including soil stability, drainage, and any obstacles.
Design: Creating a paving plan that includes the asphalt surface’s layout, dimensions, and specifications.
Permits: Obtaining any necessary permits and adhering to local regulations and codes.
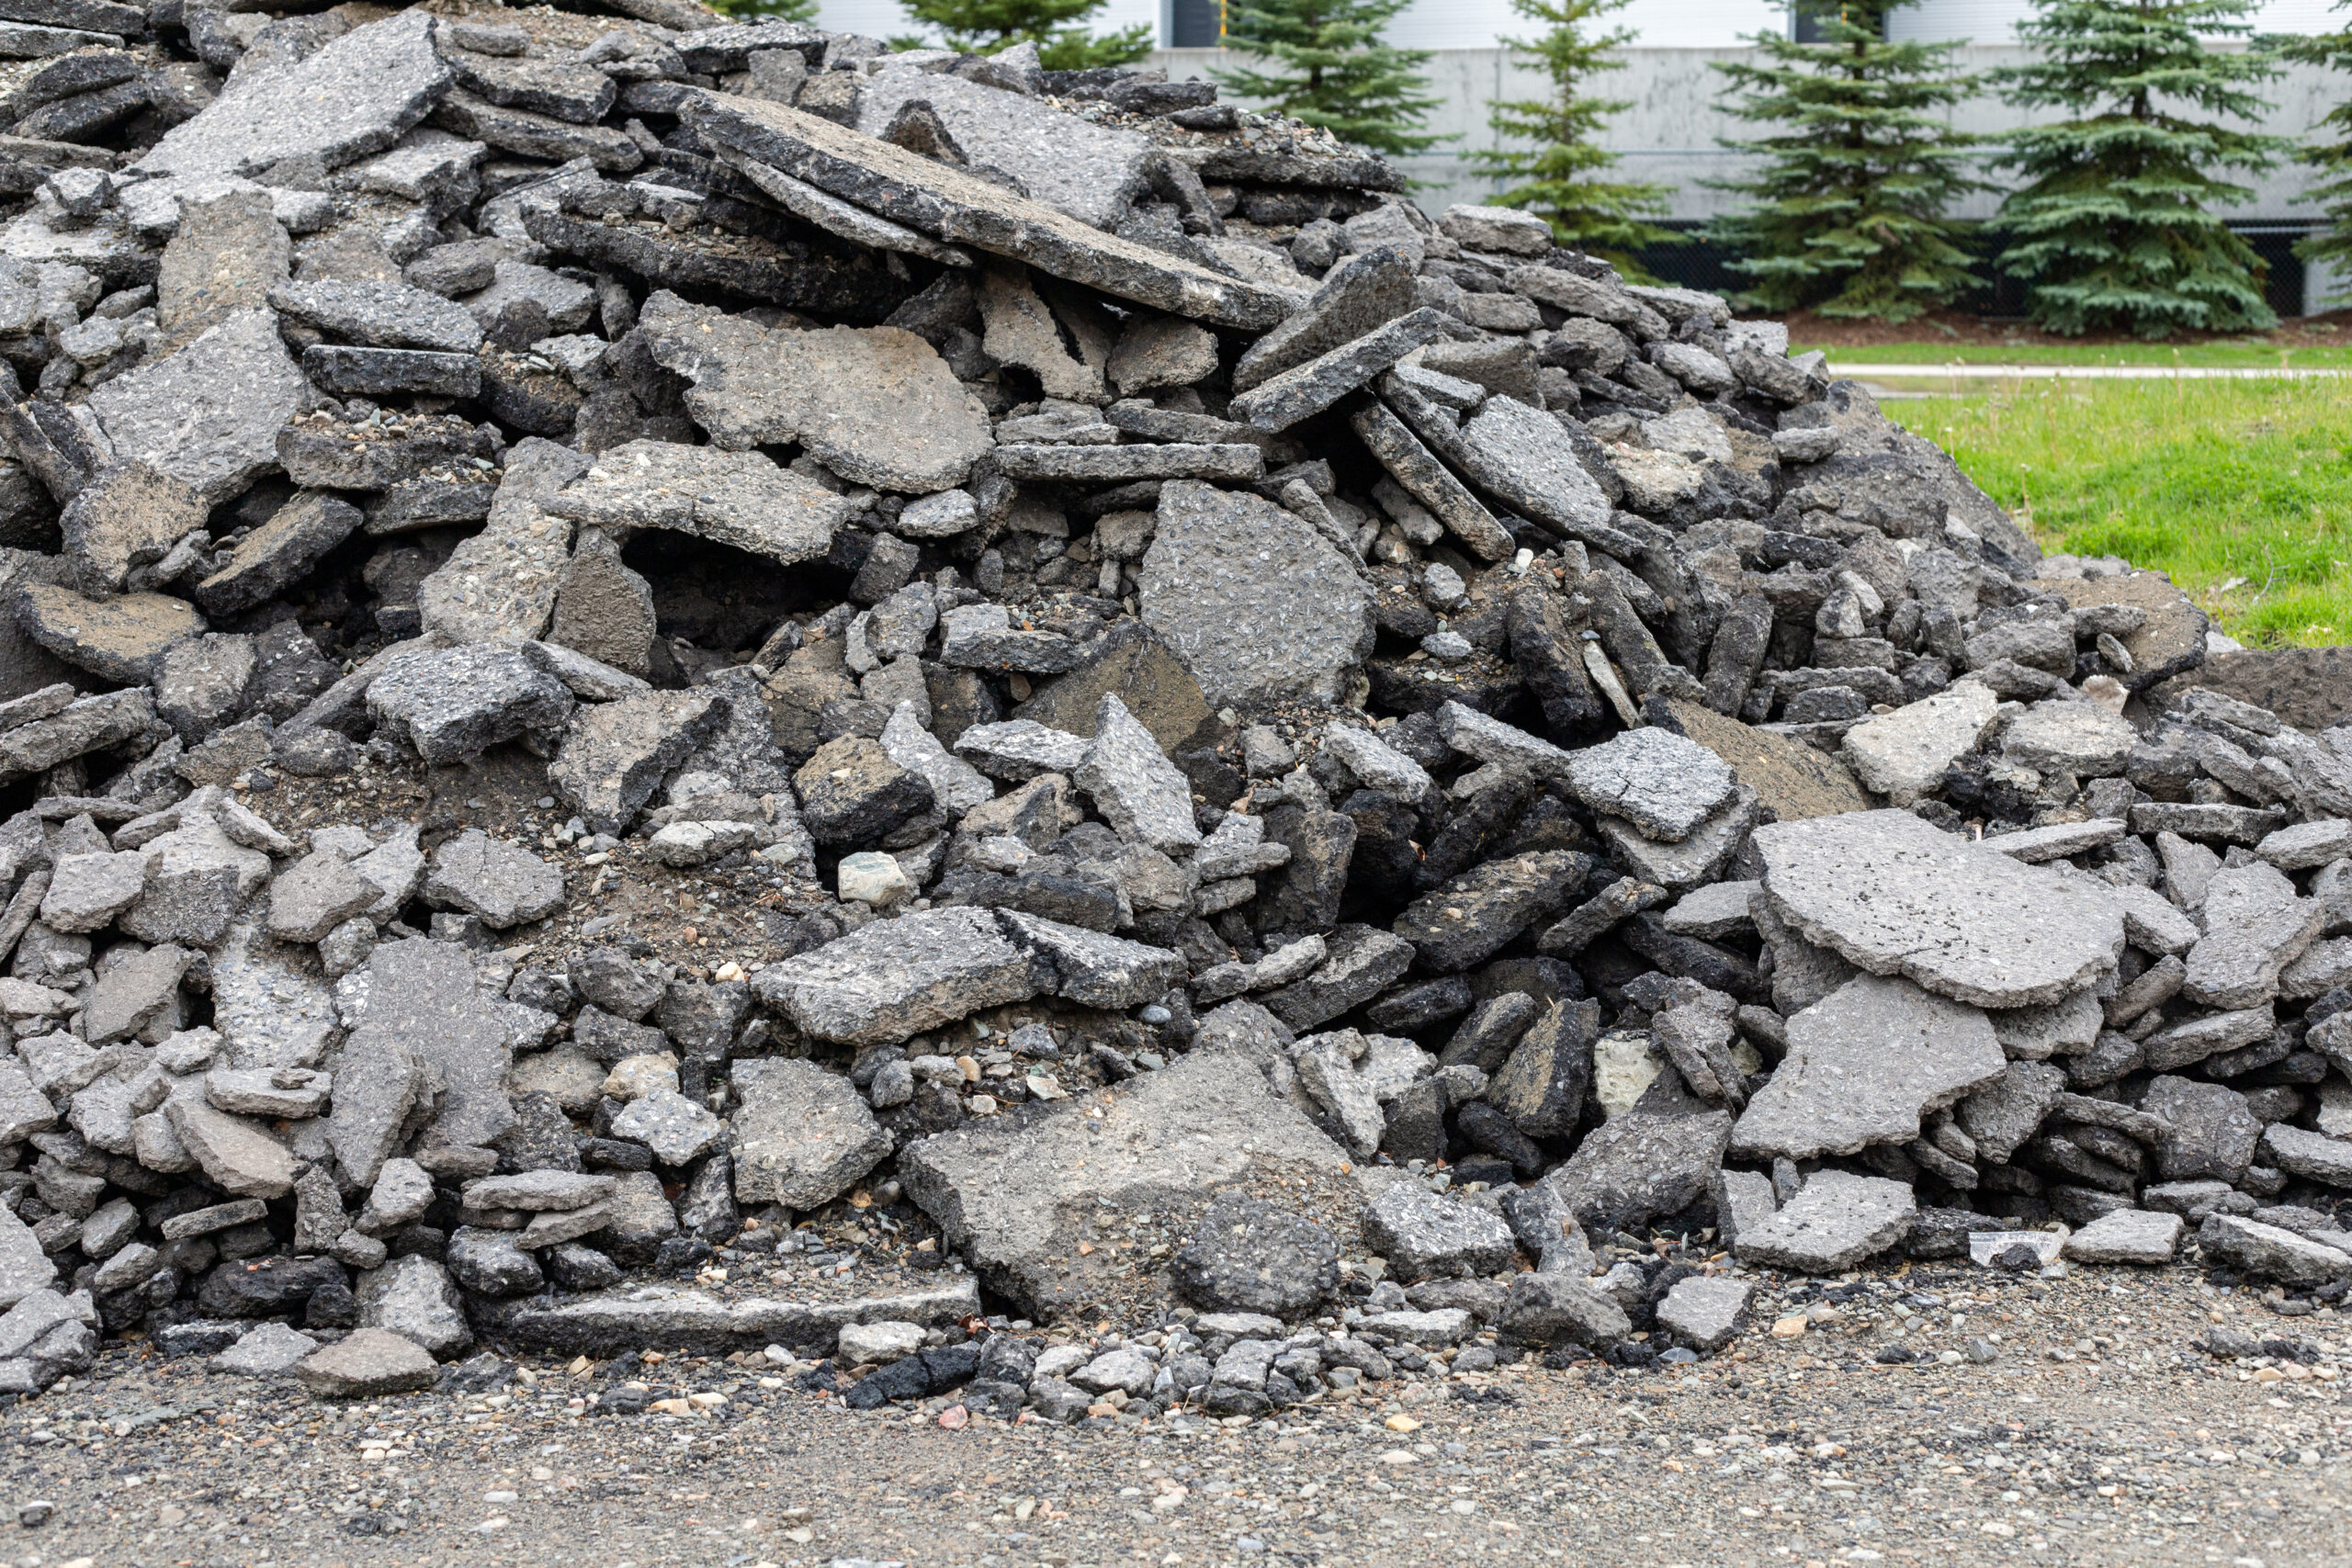
Step 2: Excavation and Grading
Proper site preparation is crucial for a successful asphalt paving project. The steps include:
Excavation: Removing the existing surface (e.g., old pavement, grass, or dirt) to the required depth.
Grading: Ensuring the base is properly graded to allow for effective drainage and prevent water accumulation.
Compaction: Compacting the soil to create a stable foundation for the asphalt.
Step 3: Sub-Base and Base Layer Installation
The sub-base and base layers provide structural support and stability for the asphalt surface:
Sub-Base Layer: Installing a layer of crushed stone or gravel to create a solid foundation. This layer helps with load distribution and prevents settling.
Base Layer: Adding a layer of aggregate material, which is compacted to provide additional stability and support for the asphalt.
Step 4: Binder Layer
The binder layer is the first layer of asphalt, consisting of a mix of aggregate and asphalt cement:
Application: Laying the binder layer over the compacted base layer to create a strong and durable foundation.
Compaction: Using heavy rollers to compact the binder layer, ensuring a smooth and even surface.
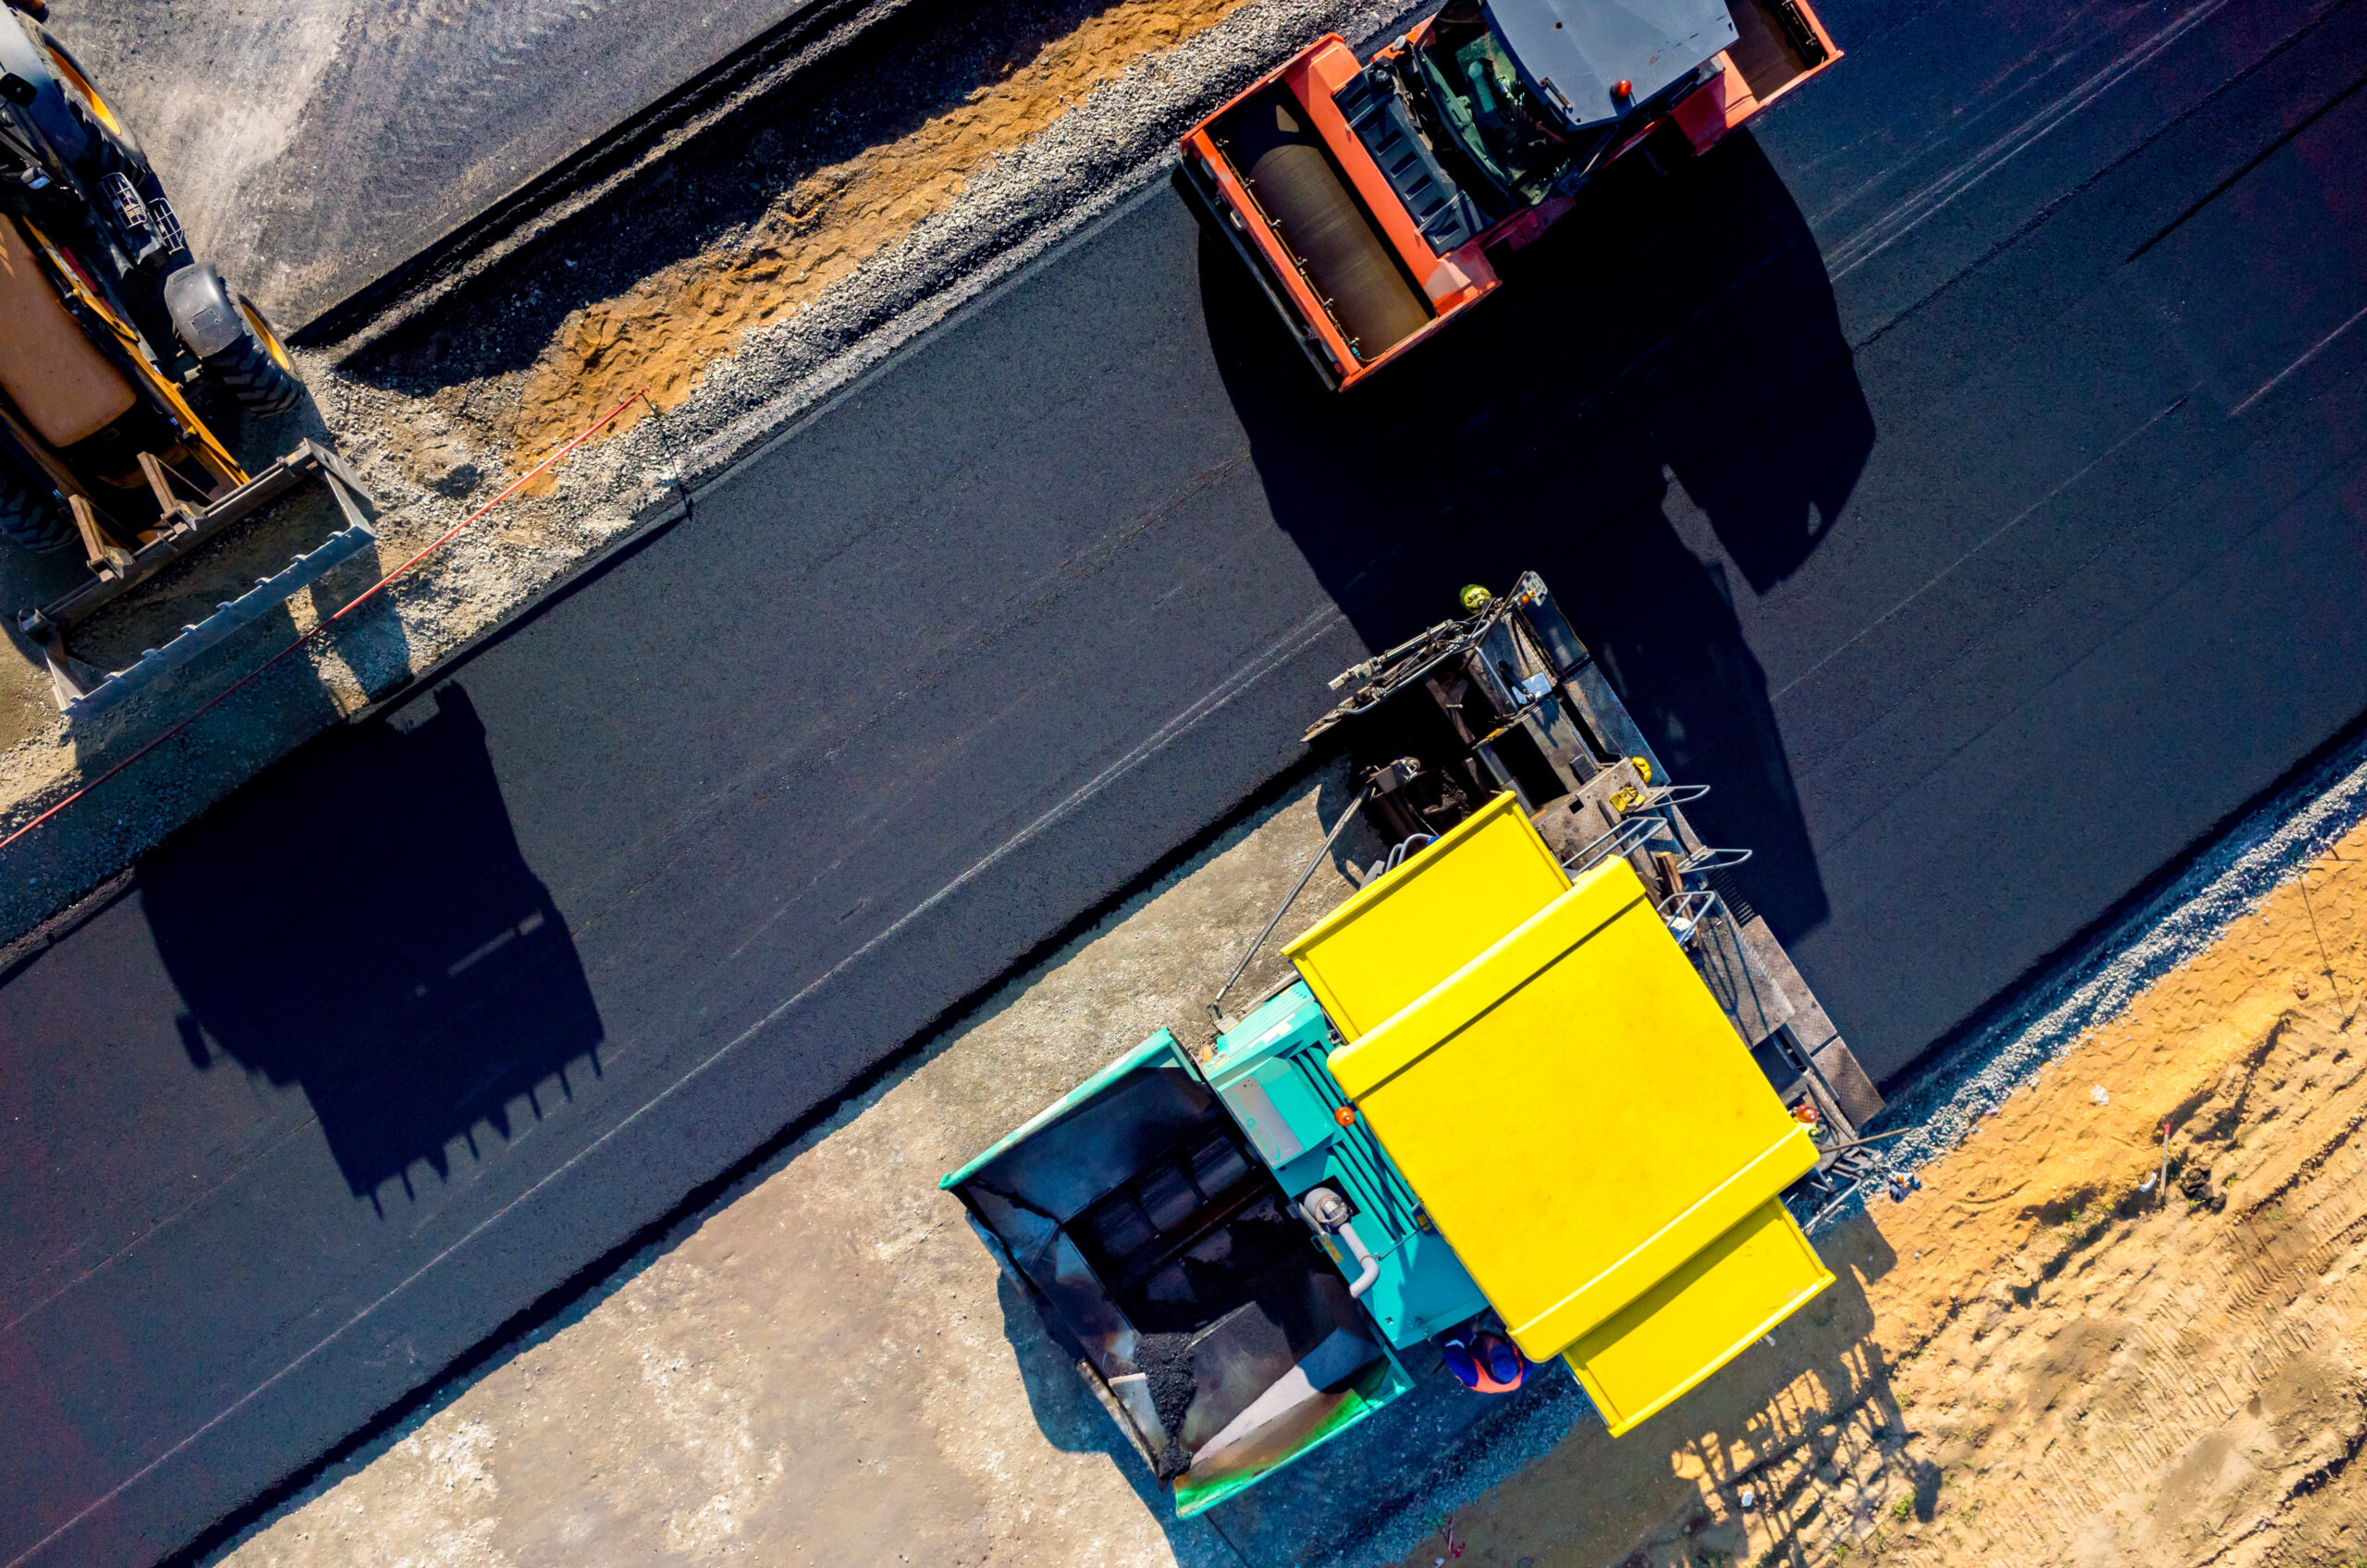
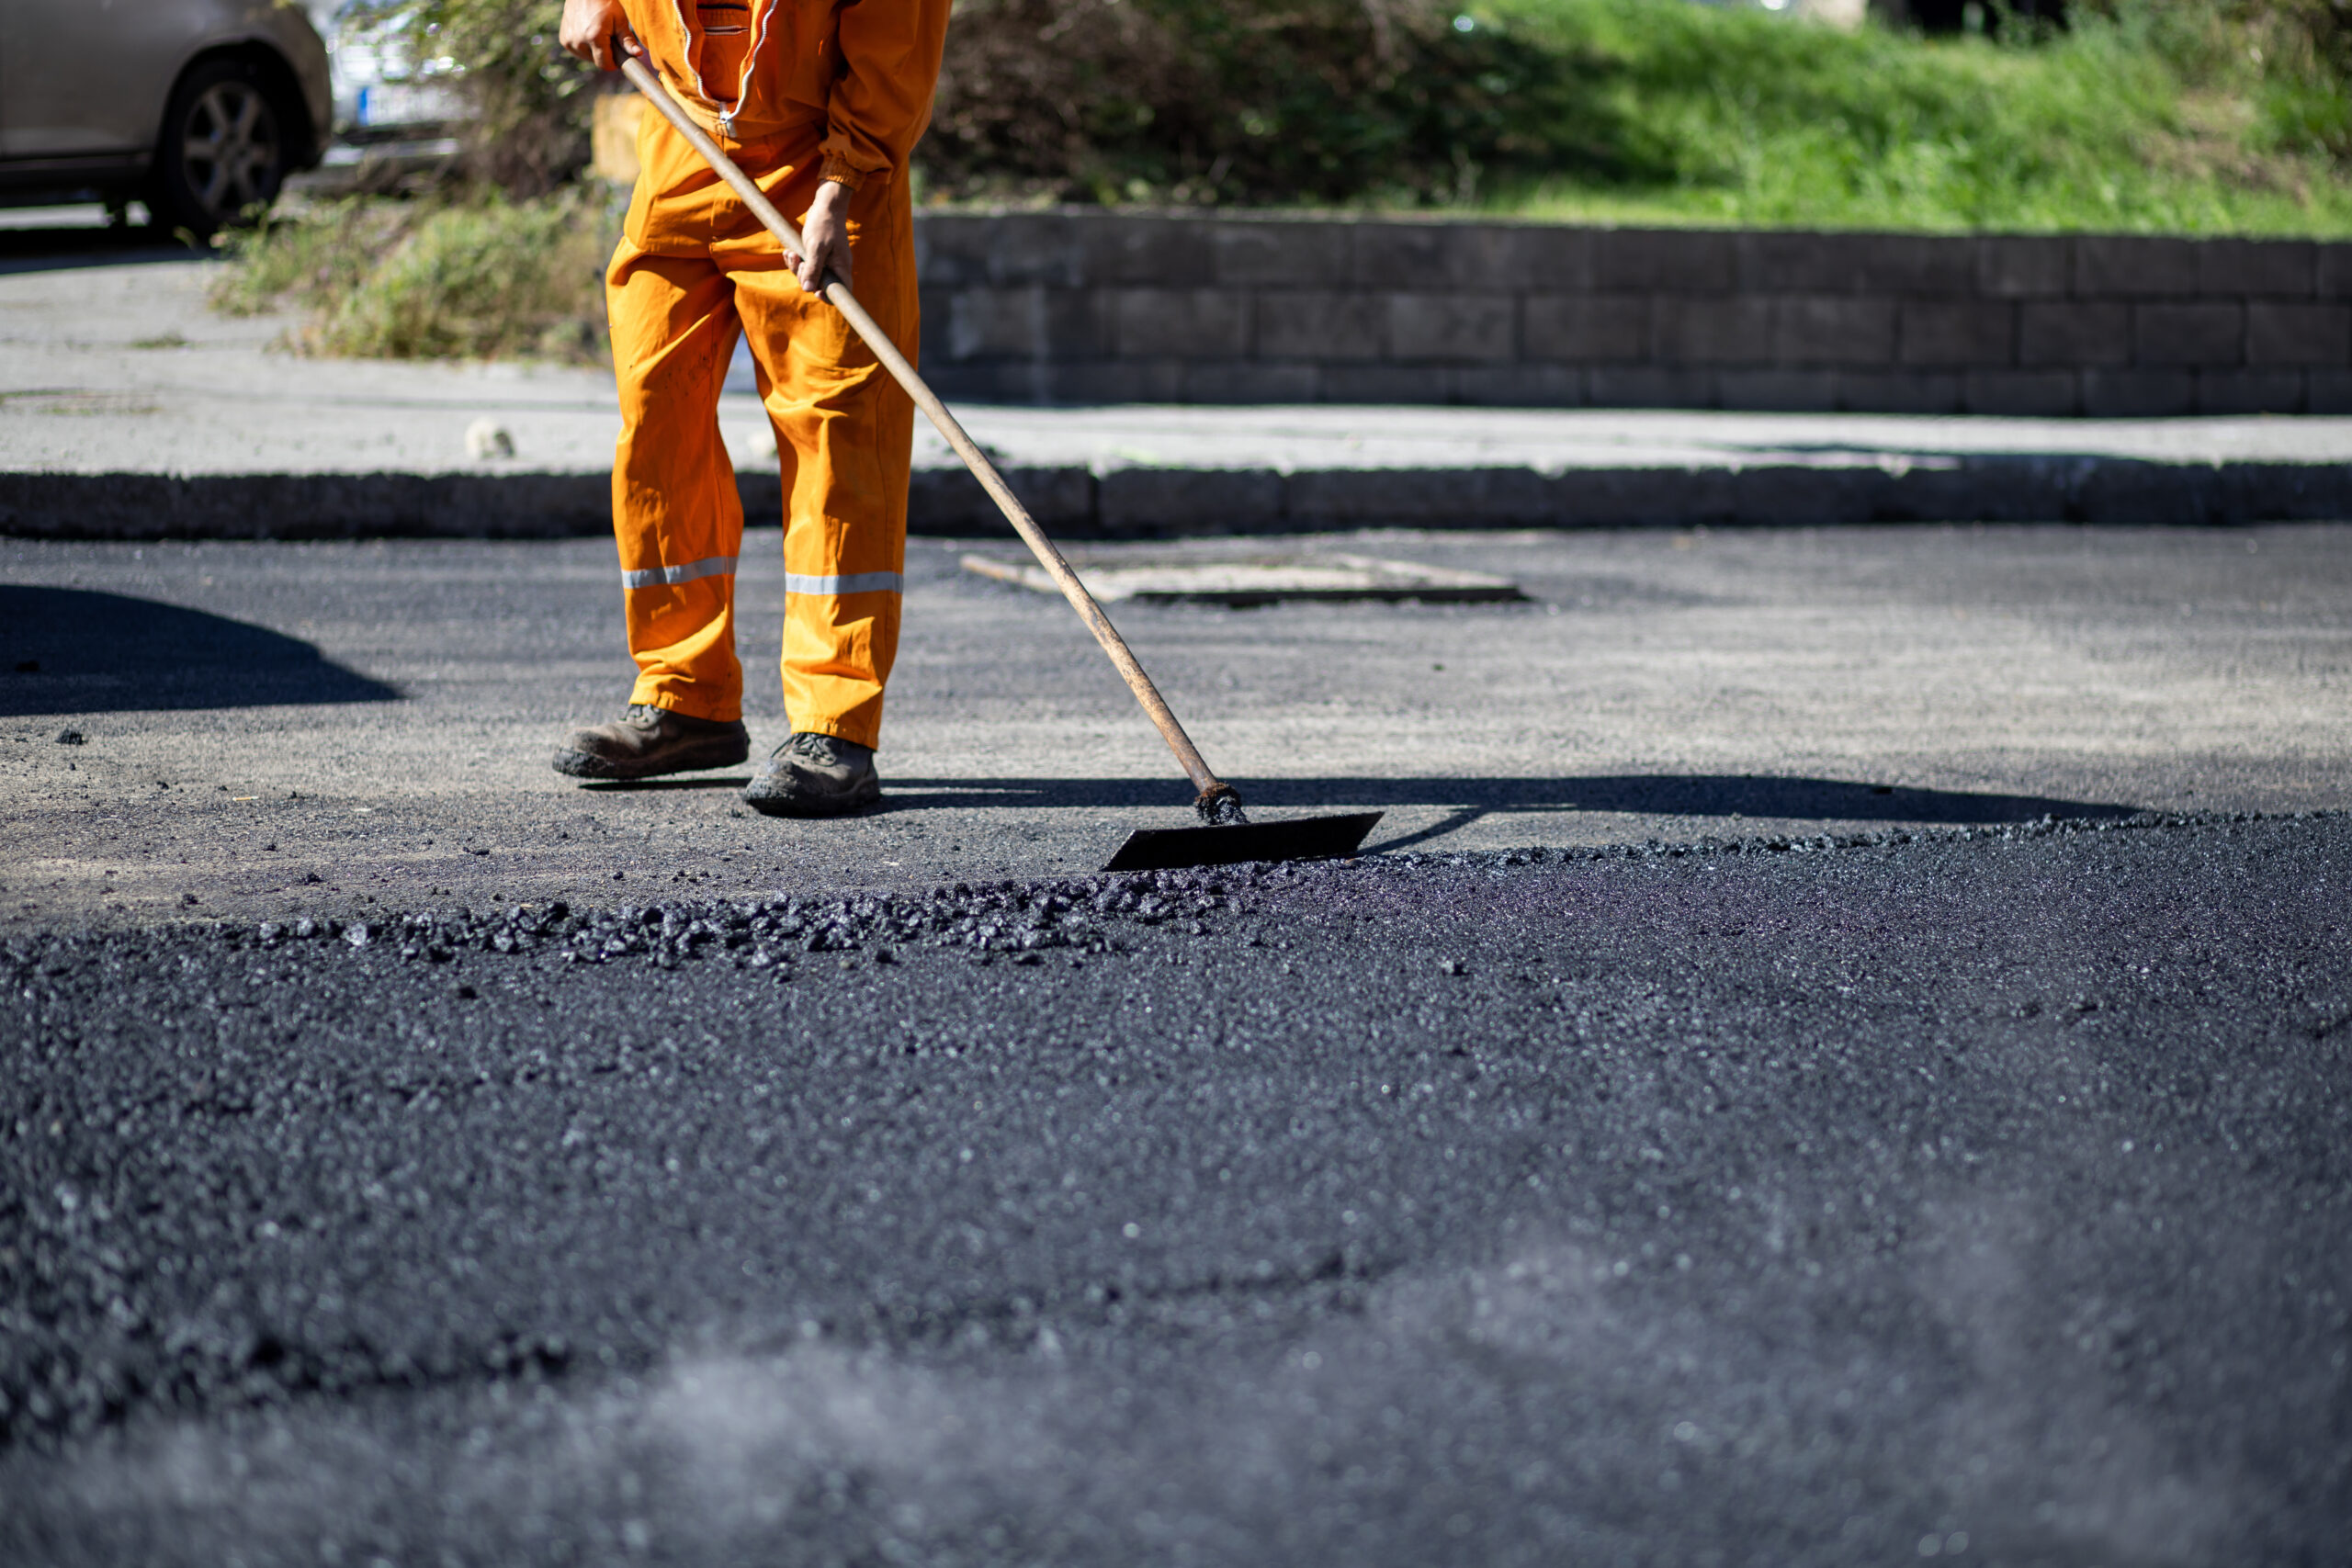
Step 5: Surface Layer
The surface layer, also known as the top or wearing course, is the final layer of asphalt:
Application: Applying the surface layer, which consists of smaller aggregate particles and asphalt cement, to create a smooth and aesthetically pleasing finish.
Compaction: Rolling the surface layer to achieve a dense, uniform surface that can withstand traffic and weather conditions.
Step 6: Edging and Finishing
Proper edging and finishing ensure the longevity and appearance of the asphalt surface:
Edging: Creating clean edges along the pavement to prevent raveling and provide a polished look.
Joint Sealing: Sealing joints between the new asphalt and existing surfaces to prevent water infiltration.
Surface Sealing: Applying a seal coat to protect the surface from UV rays, water, and chemicals, enhancing durability and appearance.
Step 7: Inspection and Quality Control
The final step involves thorough inspection and quality control to ensure the paving project meets industry standards:
Inspection: Checking for any imperfections, such as uneven surfaces or cracks, and making necessary adjustments.
Quality Control: Testing the density and compaction of the asphalt to ensure it meets the required specifications.
Asphalt paving is a meticulous and multi-step process. Attention to edging, finishing, and ongoing quality control further enhances the durability and appearance of the final product. By following these guidelines and steps, Sunrise Asphalt ensures a successful paving project that meets high industry standards and provides a long-lasting, high-quality surface.
